Getting Started with React Native Development on Linux: A Beginner's Guide


Why React Native?
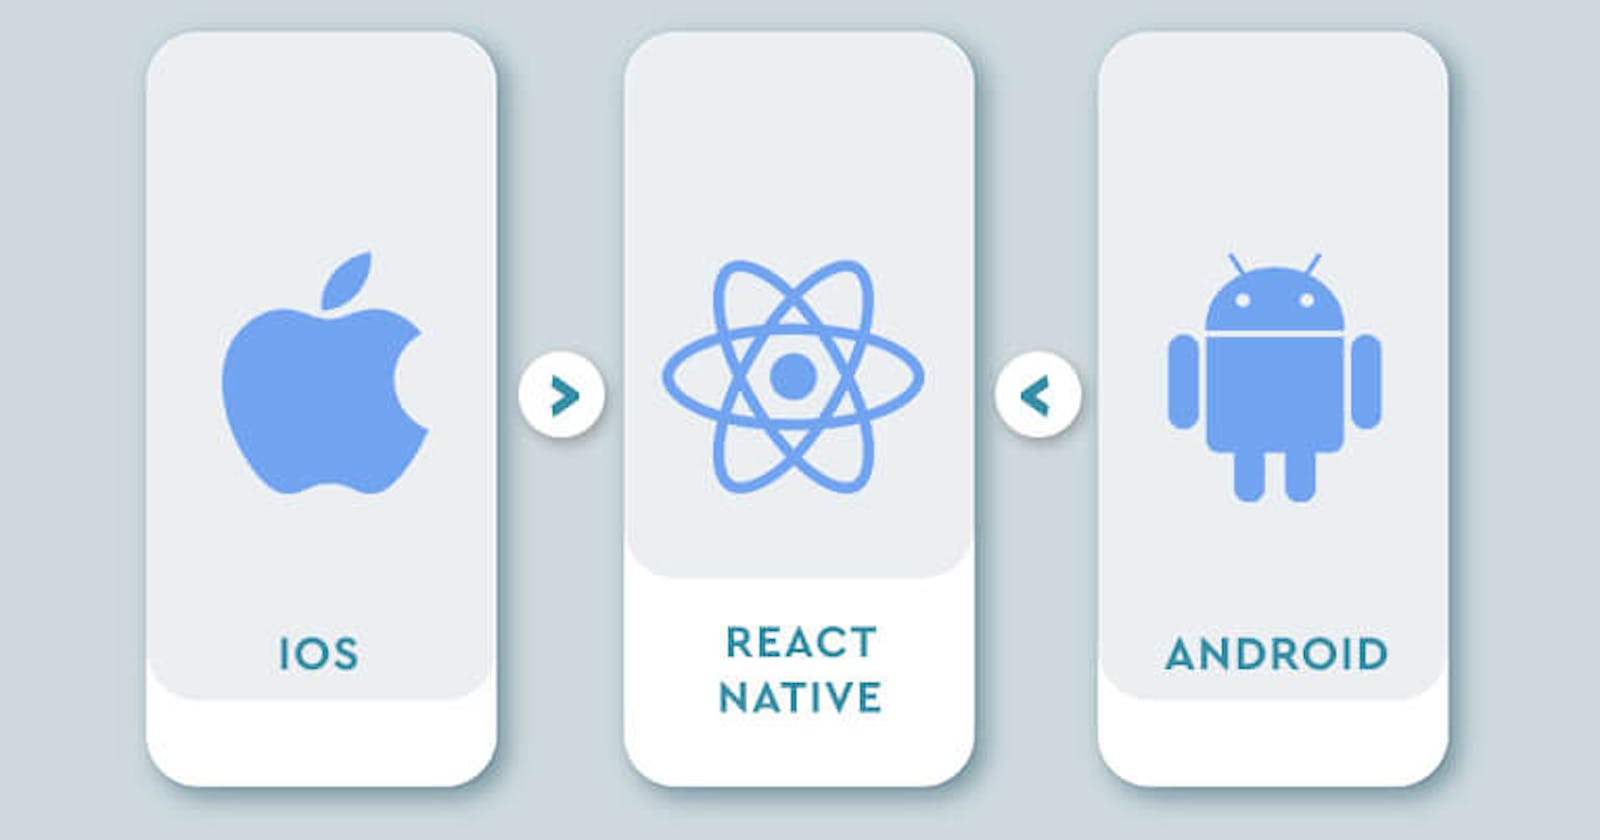
React Native is a framework for building native mobile applications using JavaScript and React. It allows developers to build mobile apps for iOS and Android platforms using a single codebase, increasing efficiency and reducing development time. Additionally, React Native offers a high-performance and responsive user experience, as well as the ability to reuse code between the web and mobile.
In this article, I will take you through all steps you need to start your first React Native app.
Step 1: Install Node js
Run this command in your terminal
#Ubuntu
curl -fsSL https://deb.nodesource.com/setup_18.x | sudo -E bash - &&\
sudo apt-get install -y nodejs
Let's check our nodejs version
node -v
You should have v18.x.x as version.
Step 2: Install Visual Studio code
Visual Studio Code is one of the most popular Code Editor you will find out there. So let's install it by running this command
sudo apt update
sudo apt install snapd
sudo snap install --classic code
Step 2: Install JDK
Java is used to build native Android apps. This means that Java Development Kit (JDK) is required for working with projects in React Native. If you want to build iOS app, you will need a Mac
Install the JDK with the following commands:
$ sudo add-apt-repository ppa:openjdk-r/ppa
$ sudo apt-get update
$ sudo apt-get install openjdk-11-jdk
It seems that we are getting close to our goal.
Step 3: Install Android Studio
Download the latest version of Android Studio from the official website (developer.android.com/studio)
Once the download is complete, Unpack the
.zipfile you downloaded to an appropriate location for your applications, such as within/usr/local/for your user profile or/opt/for shared users.
For a 64-bit version of Linux, we need to install the required libraries for 64-bit machines.
sudo apt-get install libc6:i386 libncurses5:i386 libstdc++6:i386 lib32z1 libbz2-1.0:i386
To launch Android Studio, open a terminal, navigate to the
android-studio/bin/directory, and executestudio.shSelect whether you want to import previous Android Studio settings, then click OK.
Complete the Android Studio Setup Wizard.
Make sure you select an Android SDK and install it.
Step 4: Let's make some additional configuration
- Run the command
sudo nano $HOME/.bashrc
To build apps with native code, the React Native tools need some environmental variables.
- Copy the lines below and paste them into the terminal:
export ANDROID_HOME=$HOME/Android/Sdk
export PATH=$PATH:$ANDROID_HOME/tools
export PATH=$PATH:$ANDROID_HOME/platform-tools
Save and exit the file using the below commands:
Press Ctrl + O (Write out)
Then press Enter
And press Ctrl + x (exit)
Step 5: Install React Native
- The next step is to install React Native. It should be noted that you need to use sudo to have React Native installed as root since we will be installing it globally. This is the code you must use:
sudo npm install -g react-native-cli
- Users who installed NPM with another method can install React Native as a normal user using this code:
npm install -g react-native-cli
- Create a new project
react-native init MyAwesomeApp
Step 6: Setting up the Android device
Only apps downloaded by Google Play can be set up and run by default on most Android devices. To install your app during development, you need to enable USB Debugging on your device.
You will first need to activate the Developers options menu by going to Settings — About phone —Software Information — and then tap the Build number row at the bottom seven times to activate your device's USB debugging system.
You can then return to Developer Settings to enable "USB debugging."
Let's start on an Android device now to run our React Native projects.